Sunday, October 30, 2005
Walk like an Egyptian.....spread #2 done!
Wooo-hooo #2 is done.
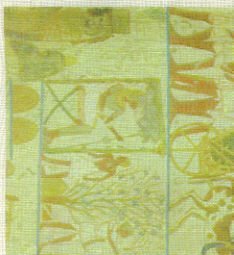
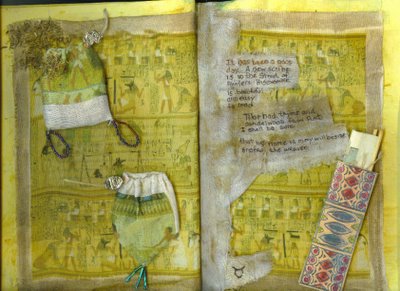
This is the spread where I used the printed linen. I've included some little bags of spices (sewn shut) and a scroll case with architectural plans in it. The center tip-in continues the writings on the reverse. The ties on the bags and scroll are my own hand-spun flax cord. The brownish tinge to the border and the tip-in are a dye I mixed specifically for this - I call the color "mummy linen"
Friday, October 28, 2005
More new technique...and questions
Quite a while ago I bought a product called Bubble Jet. It's a chemical that makes ANY fabric able to accept ink-jet printing. Yesterday I tried it for the first time and I love it! The process is a bit involved; soak fabric, dry fabric, iron onto freezer paper, print, dry; but the results are great. I used some sheer cream linen. The printed fabric has no change in its hand at all and the pictures are bright and pretty crisp (I enlargd them and I think I lost resolution...my bad - not the product) The first thing my DH said was..."could you make a whole book like this?" The only down side is that you are limited by the size of paper the printer will accept. Length is usually not a problem, but none of my printers will take wider than 8.5" and they all have a mandatory border...ie will not print to the edge.
I also have been using Celluclay in some silicone push molds. This is taking just FOREVER to dry. I tried unmolding when the surface felt dry, but the cast was still wet and some of them shredded. Any suggestions? BTW - I tried my heat gun which made the mold smoke! Ewww.
Tuesday, October 25, 2005
Day...whatever....14 ?
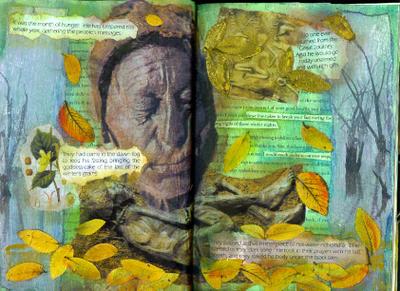
This page uses my current favorite technique of printing pictures on tissue paper and glazing them onto the page in layers. I then use inks to blend the edges into the background and each other. The leaves are real and yellow - but color enhanced a bit with inks and applied with incaustic to preserve and flatten them. Some of them are gilded with embossing powder. I was lucky enough to also find a few appropriate phrases on the page being altered. I think I'll not give out the story just yet since it looks like you can't read it on the picture. The page will be finished with some fiber work along the bottom edge, but that will go in at the very end with the rest of the book's embellishments so that they don't get accidently ruined as I work on other pages. Once burned - twice careful!
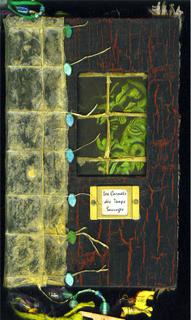
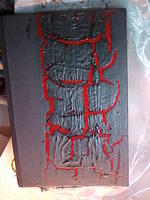
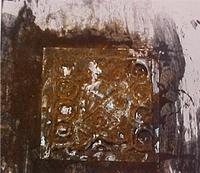
Here, too, is a pic of the cover of another book I finished on Saturday - where I used the crackle and this wonderful stuff called oil-paper that is crisp and translucent and has linen cords running through it. It has a window in the cover (talk about a nail-biter - I was so afraid I'd ruin it) where I used the same oil-paper but cut away the paper between the cords. That was a bit disappointing because the result looks a little like rolled up masking tape.
Wednesday, October 12, 2005
Day 3 - Trying New Stuff
I've found these two very interesting products - Crackle and Rust. Crackle is a gel you paint on between two coats of acrylic and as it dries, it shriks and cracks the top coat so the bottom shows through.
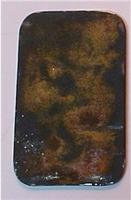
Rust is a two part thingie where coat one is acrylic paint that has iron filings in it. Coat 2 is an acid that makes the rust. Then I tried the rust on some metal tape that I embosed and stuck to a card. Even the paper got rust on it...very cool.
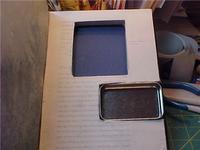
So I got VERY brave and added the drawer to the back under the niche. I didn't have any match boxes so I used a metal box..the bottom part of the lid that I tried out the rust on. I'll cover it with card stock so that it goes in and out. By the way - the cutouts look so neat cause I sand the cut edges with a sand block and then put acrylic gel on it just like on the page edges. Then I covered it with rice paper while the gel was wet.
Monday, October 10, 2005
Day 2 - Watching Glue Dry
This was the drudge work day. I story-boarded the book so I'd know how many spreads to glue-up. Then I started tearing out and glueing. The book has softer paper than I like so I put a piece of card stock in between the glued pages. I also glued in a few background papers.
TIP: A piece of ceramic tile (or 2) makes a wonderful weight for glued pages. Get a few for free at any floor supply store. Ask for discontinued samples.
Just one pic today cause there is nothing more boring than watching glue dry.
Sunday, October 9, 2005
Day 1
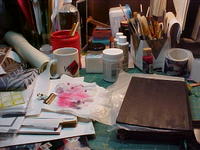
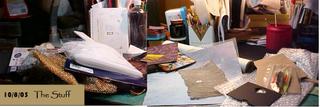
I've gathered up everything among my stash that I might use. Its a bigger pile than I thought and yet I'm sure there will be more. There's a list on scrap paper of other stuff I want. The image file on the computer has topped 5 MB.
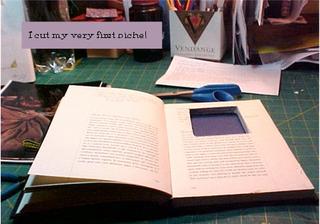
I cut a niche at the back of the book. My first one - but ya gotta start somewhere. AND - I already know what's going into it. There might be a drawer too.
Then, around 3PM I got sticky feet...noticed how really filthy the carpet was around my work table. Procrastinated by getting out the carpet cleaner and cleaning the carpet . First I had to find the instruction manual. Looking for it used up a good 2 hrs. Finally in desparation, I looked on-line. Who knew that appliance manuals were on-line. Ain't science wonderful? Now, I am NOT a cleaner - I watch those "How clean is your house" shows to reassure myself that there are people in the world worse than me. Not many...but there are some. So this was true and desparate procrastination. carpet shampooing and making/eating/cleaning up dinner lasted me until 9:30 PM when I decided to take pictures and start the blog.